Weaving Tutorial
Winding the Warp
- Make a guide string
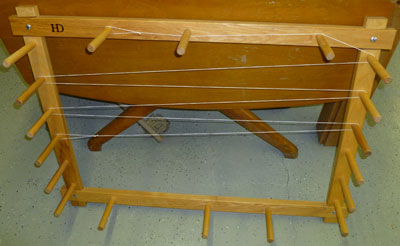
Measure a guide string the desired length of the warp and place on warping board. The string should be a different color than the warp.
- Wind the Warp
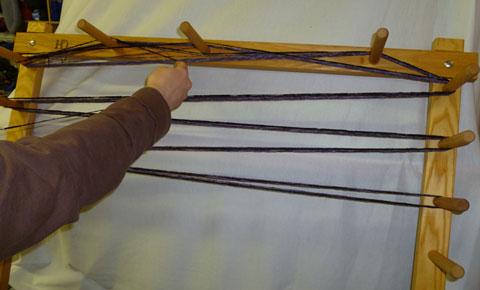
Wind the warp following the guide string starting at the bottom peg with the threading cross near the top left peg. Be careful to not overlap threads on the pegs. At color changes, tie the new end to the old end at the first or last peg.
- Count the Threads
Count the warp threads at the cross by finger-crocheting a cord around each group of threads that will be placed in one space of the raddle.
- Secure the warp chain
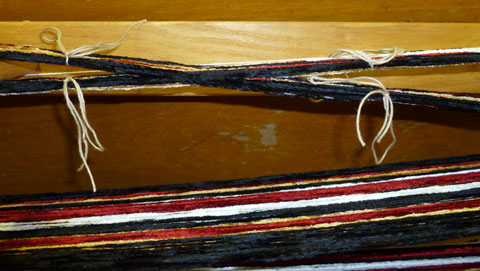
Tie the four arms of the cross. Place a tie at the beginning and the end of the warp. Also place a tie in the center of every other yard.
- Chain the Warp
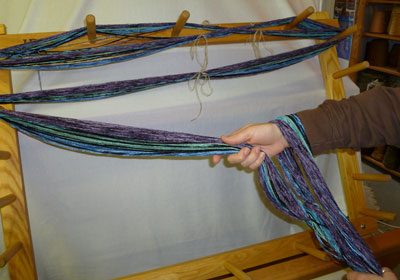
Remove the warp loops at the last peg and chain the warp from the board: Make a loop of the threads and pull another loop through the first loop with one hand. Pull a loop through the new loop with the other hand. Continue, pulling loops hand over hand until you reach the cross, and remove the chain from the warping board.
Warping the Loom
- Spread the warp in the raddle
Attach the raddle to the back beam. Place the lease sticks in the threading cross.
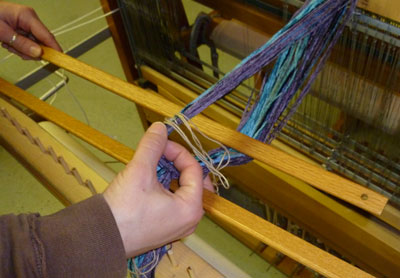
Secure the lease sticks to the sides of the loom between the back beam and the shafts. Place a sturdy rod in the end loops near the cross. Attach the rod to the apron rod from the warp beam, sliding the warp to one side. Drape the rest of the warp chain over the harnesses and breast beam. Remove the ties that secured the cross. Spread the warp threads evenly in the raddle.
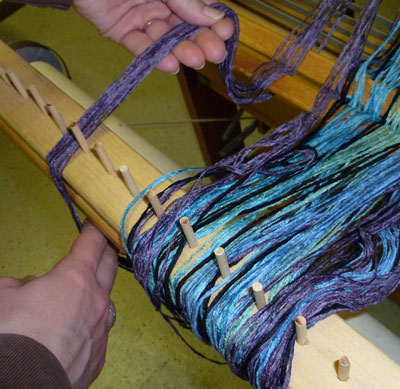
- Beam the Warp
Divide the warp chain into sections of about two inches each. Pull firmly on each section to straighten and align the warp threads.
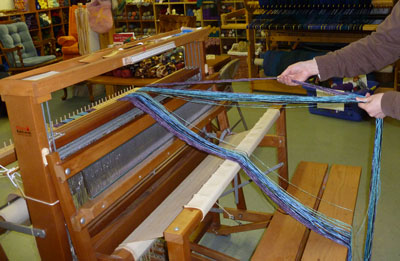
Keeping the lease sticks tied in place begin winding the warp onto the warp beam.
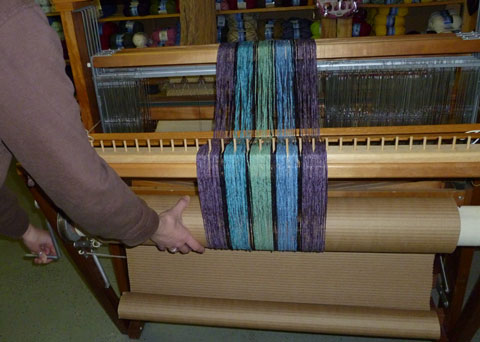
If threads tangle at the lease sticks, go to the front and pull firmly on each section again. Continue, winding a complete turn and then tightening each section at the front of the loom until the warp hangs just over the beater.
- Thread the loom
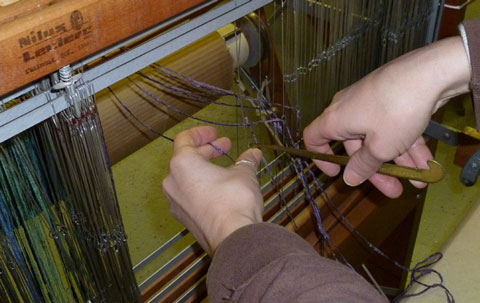
Count the number of heddles required on each shaft by your draft and make sure you have enough. Divide any extra heddles on each shaft so an equal number is placed on each side of the threaded warp. Sitting at the front of the loom, thread the heddles following your draft from right to left if you are right-handed, from left to right if you are left-handed or from the center to each side.
- Sley the Reed
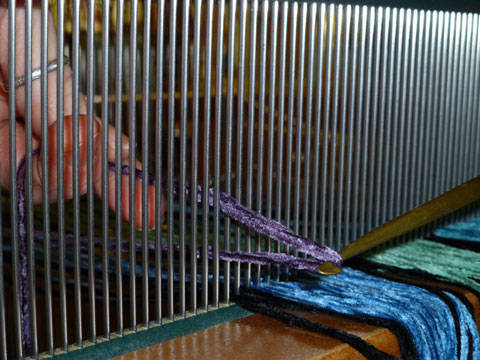
Insert the size reed needed for your project into the beater. If you don’t have the exact dent reed needed for your project you can use one you have by skipping dents and/or sleying more than one warp end per dent.
Look under the "reed size" column in the chart below to find the desired number of ends per inch (e.p.i.), then follow across to the left to find the number of warp ends to enter in each dent.
Reed Substitution Chart
(Size Reed - dents per inch) Order in Reed 4 6 8 10 12 15 20 0-0-1 1 2 3 3 4 5 7 0-1 2 3 4 5 6 7.5 10 0-1-1 2 4 5 7 8 10 13 0-1-1-1 3 4.5 6 7.5 9 11.5 15 1 4 6 8 10 12 15 20 1-1-1-2 5 7.5 10 12.5 15 19 25 1-1-2 5 8 11 13 16 20 27 1-2 6 9 12 15 18 22.5 30 1-2-2 6 10 13 17 20 25 33 1-2-2-2 7 10.5 14 17.5 21 26 35 2 8 12 16 20 24 30 40 2-2-2-3 9 13.5 18 22.5 27 34 45 2-2-3 9 14 19 23 28 35 47 2-3 10 15 20 25 30 37.5 50 2-3-3 10 16 21 27 32 40 53 2-3-3-3 11 16.5 22 27.5 33 41 55 Mark the center of the reed and measure from the center to each side a distance that is half the warp width to position the warp in the center of the reed. Then sly the reed as required by your draft.
- Tie onto the front apron rod
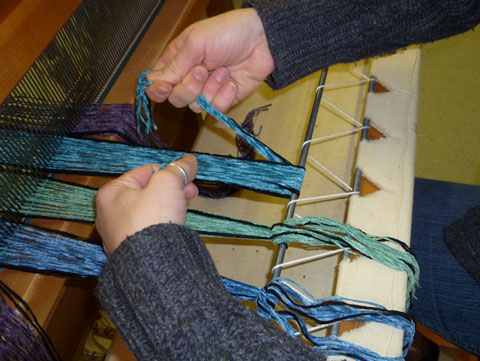
Starting in the center of the warp, take two 1/4 inch groups of warp threads, pass them over and around the front apron rod and tie only the first half of a square knot on top. Continue tying groups, working from the center out, alternating sides. When you’ve tied half knots for all the groups, check your tension by patting your hand lightly on top. If tension is uneven tighten knots. When tension is even tie the second half of each square knot.
- Adjusting loom treadles
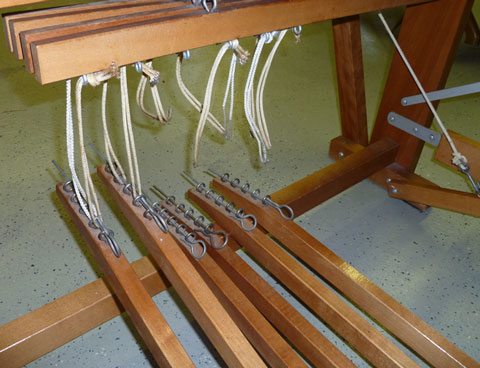
Set the loom treadles according to your draft pattern.
Weaving
- Weaving a header
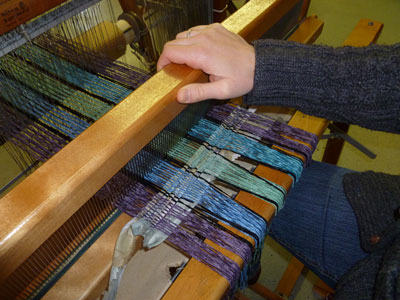
To start your weaving push down the treadle that lifts harness one and three. Place a strip of fabric in the shed and pull the beater forward. Change your shed by pushing down the treadle that lifts harness two and four. Place another strip of fabric in the shed and pull the beater forward. Do this two to four more times. The use of the fabric strips at the beginning of a new warp spaces out the warp and gets it ready for the actual weaving.
- Winding your shuttle
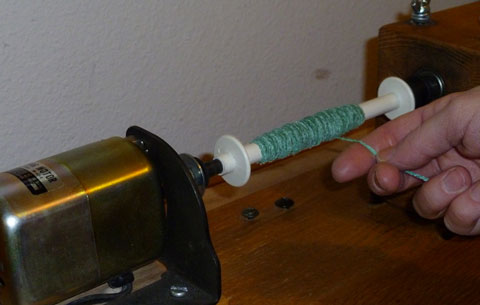
Before you begin weaving you'll need to put some weft yarn on a shuttle. If using a boat shuttle you will need to fill several bobbins with your weft yarn.
- Weaving your project
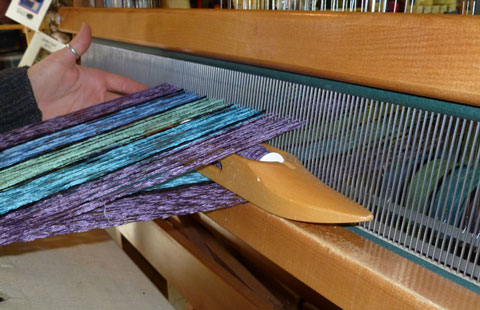
Push down the treadles as you did to weave the header and pass the shuttle through the shed, being careful to not pull the yarn too tight at the selvages. Pull the beater gently forward to pack the weft thread into place. Push the next treadles according to the pattern you are doing and pass the shuttle through the shed again. Pull the beater forward to pack the weft yarn into place. Continue in this manner.
- Advancing the warp
As your weaving progresses, you’ll notice your shed getting smaller and smaller. This is due to two things: the shortening of the distance between the fell of your fabric and the heddle eyes, where the opening is largest, and to the increase in warp tension that occurs from take-up as you weave, making it harder to open the shed. When the shed has become so small that it is difficult to get the shuttle through, or even an inch or so before that, it is time to advance your warp. Release the brake and move the warp forward. Tighten the tension again and resume weaving. Continue in this manner until your project is the desired length.
- Ending and starting weft
When you run out of weft thread on a bobbin start the next bobbin by overlapping the ends.
Finishing
- Finishing your project
When you have finished weaving your project remove it from the loom by cutting the threads. If you are planning to have a knotted fringe make sure you leave long enough ends.
- Tie the fringe.
- Washing
The final step to your project is to wash it. Depending on the type of fiber used either hand or machine wash. Lay on a flat surface to dry.
