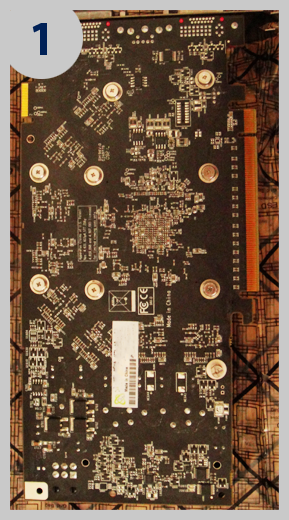
Graphics Card
 Installing a graphics card also known as a GPU is mainly a matter of knowing what type of card you have. There are mainly three different styles of cards in the market: PCI, AGP, and PCI-E. To find out what type of card you have look at the specifications listed on the package of your graphics card. The card in image 1 is a PCI-E card.
Once you have figured out what type of card you have remove it from it's packaging and proceed with these steps:
Installing the Device
- Follow the procedures from the getting started page.
- If your computer case has metal covers over the area where the card externals go remove the one that is across from the card port where you are going to put your card.
- After the metal cover is removed grab the graphics card, just be sure to not touch any circuit surface. Line up the card chipset to be matching with the port it is going into. It should match like two puzzle pieces. After the chipset and port are aligned push the card down into the port until it snaps in.
- Once the card is snapped into the port screw the card in where the output end meets the computer case.
- After the card is installed into the motherboard plug the power chord back into the computer and turn it on. You may notice the screen is extremely off resolution. It will do this because the drivers for the card have not yet been installed.
- Once the computer is on put in the disc that came with your graphics card and follow the install wizard.
- After the drivers are installed restart your computer.
- Enjoy your new beautiful graphics from your new card.
